Thursday, April 30, 2009

More Lemon!


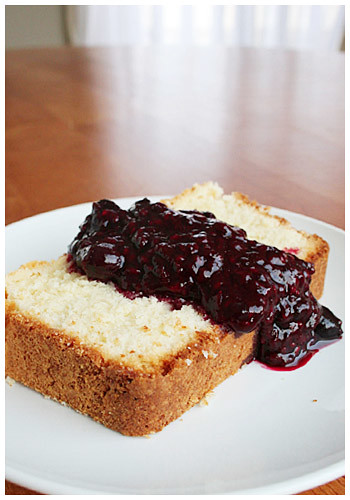
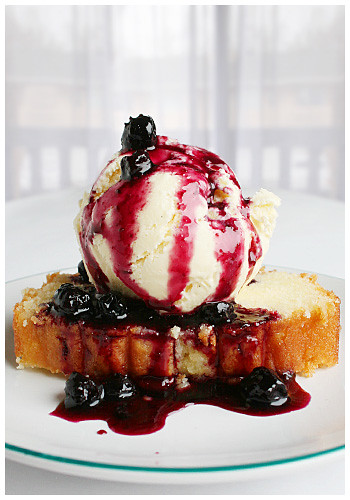
One of my primary motivations in what I bake is seeing a picture of something and saying, 'I want to eat that with my face right now.' Such was the motivation for this recipe and/or utter replication of one woman's picture. The original, far superior, Flickr picture is here. I stumbled on it while looking through shots of pound cake because I was still determined to remedy my foul up from a few weeks ago. She identified it as Lemon Pound cake with Blueberry Sauce and Coconut Gelato. Mmmmm. Yes please.

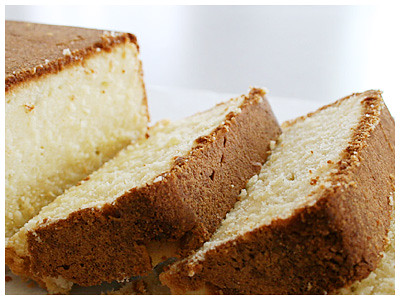
I stuck with Rose Levy Beranbaum for the lemon pound cake. You know how you have an idea of what something SHOULD taste like, even if you've maybe never had it that way? I always thought pound cake was supposed to be moist and melt-in-your-mouth a little. I was informed that it's not like that and that it's ultimately dry. I still have a sneaking suspicion my pound cake recipe is out there somewhere...

That's not to say this was bad - not at all. The light lemon was perfect: not too tart and not overwhelming. It only calls for zest in the actual batter and then you brush a lemon syrup over the rest of it later that is also very gentle and lovely. I especially enjoy it warmed up a little but I love warm cake so. That's me.

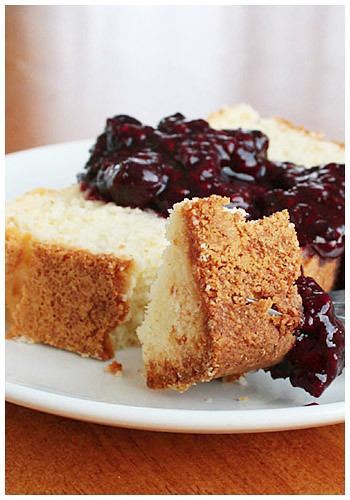
NOW. The lemon pound cake/blueberry sauce/coconut ice cream; it gets a C+ in my book and here's why: the coconut ice cream (which I'll post about next) is so mild, it's taken over even by the light lemon of the cake. And the blueberry sauce, Ina Garten's recipe, was surprisingly disappointing. There wasn't enough blueberry flavor; it kind of just tasted like syrup with a hint of blueberry. In the end, the cake was good alone and the ice cream was good alone but together they kind of cancelled each others' flavors out.

But reconstructing that beautiful picture was fun. :)
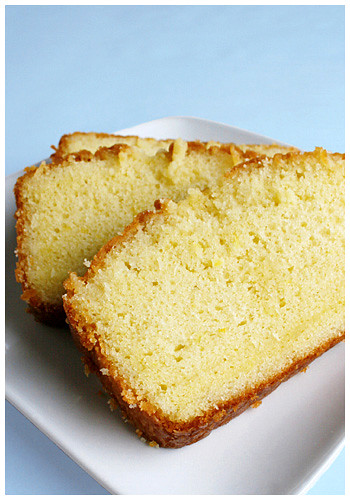

LEMON POUND CAKE
Source: Rose Levy Beranbaum

Ingredients at room temperature


3 tablespoons milk
3 large eggs
1 1/2 teaspoons vanilla
1 1/2 cups sifted cake flour
3/4 cup sugar
3/4 teaspoon baking powder
1/4 teaspoon salt
1 tablespoon loosely packed grated lemon zest
13 tablespoons unsalted butter (must be softened)
1/4 cup + 2 tablespoons sugar
1/4 cup freshly squeezed lemon juice


Preheat the oven to 350 F. Grease and line the bottom of one 8-inch by 4-inch by 2 1/2-inch loaf pan with parchment or wax paper, and then grease again and flour.

In a medium bowl lightly combine the milk, eggs and vanilla.

In a large mixing bowl combine the dry ingredients and lemon zest and mix on low speed for 30 seconds to blend. Add the butter and half the egg mixture. Mix on low speed under the dry ingredients are moistened. Increase to medium speed (high speed if using a hand mixer) and beat for 1 minute to aerate and develop the cake's structure.

Scrape down the sides. Gradually add the remaining egg mixture in 2 batches, beating for 20 seconds after each addition to incorporate the ingredients and strengthen the structure. Scrape down the sides.

Scrape the batter into the prepared pan and smooth the surface with a spatula. The batter will be almost 1/2 inch from the top of the 4-cup loaf pan. Bake 55 to 65 minutes (35 to 45 minutes in a fluted tube pan) or under a wooden toothpick inserted in the center comes out clean.

Shortly before the cake is done, prepare the Lemon Syrup: In a small pan over medium heat, stir the sugar and lemon juice until dissolved. As soon as the cake comes out of the oven, place the pan on a rack, poke the cake all over with a wire tester (or toothpick), and brush it with 1/2 the syrup. Cool in the pan for 10 minutes. Loosen the sides with a spatula and invert onto a greased wire rack. Poke the bottom of the cake with the wire tester, brush it with some syrup, and reinvert onto a greased wire rack. Brush the sides with the remaining syrup and allow to cool before wrapping airtight. Store 24 hours before eating to give the syrup a chance to distribute evenly. The syrup will keep the cake fresh a few days longer than a cake without syrup.


BLUEBERRY SAUCE
Source: Ina Garten

1 1/2 pints fresh blueberries, rinsed
1 cup sugar
1 splash vanilla
1 tablespoon fresh lemon juice

Combine the blueberries and sugar in a large heavy saucepan. Add 1 cup water and the lemon juice and bring to a boil over high heat, stirring occasionally. Reduce the heat and simmer for 15 minutes, or until the mixture begins to thicken.

Remove from the heat and cool to room temperature, cover and refrigerate.

Sunday, April 26, 2009

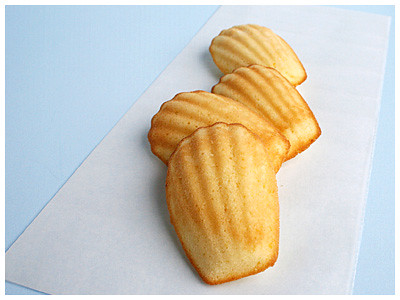
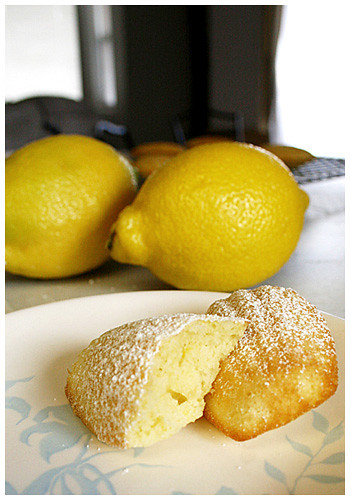
The lemon madeleines of doom


You know, the idea to make lemon madeleines started innocently enough. I just wanted something easy to get me back into baking after a winter-induced hiatus. And then the debacle with the oven breaking happened but I was determined to still make them once it came back. I mean, I still had the lemons and those things go bad if you don't use them.

And the thing about madeleines which makes them great and terrible at the same time is, they don't last more than a day. I'd argue a few hours, to be honest. Because they're best when they're warm out of the oven and after a few hours, they're dry and a little stale. The second day, they're useless. I probably won't make them again unless I have someone over to enjoy them as well.

But they're quite lovely anyway. :)


LEMON MADELEINES
Source: Martha Stewart

Makes 2 dozen

3/4 cup unsalted butter (1 1/2 sticks), melted, plus more for pans
1 1/2 cups cake flour, sifted (not self-rising)
1/2 teaspoon baking powder
1/4 teaspoon coarse salt
3 large eggs
2 large egg yolks
3/4 cup granulated sugar
1 teaspoon pure vanilla extract
2 tablespoons finely grated lemon zest
2 tablespoons fresh lemon juice (2 to 3 lemons total)
Confectioners' sugar, for dusting (optional)


Preheat oven to 350 degrees. Butter (or Pam spray) two madeleine pans; set aside.

Sift flour, baking powder, and salt into a bowl; set aside.

Put eggs, egg yolks, granulated sugar, vanilla, and lemon zest and juice in the bowl of an electric mixer fitted with the paddle attachment. Mix on medium-high speed until pale and thickened, about 5 minutes. Mix in butter. Using a spatula, fold flour mixture into egg mixture. Let rest 30 minutes.

Pour batter into buttered pans, filling the molds 3/4 full. Bake cookies, rotating pans halfway through, until edges are crisp and golden, 7 to 8 minutes. Let cookies cool slightly in pans on wire racks. Invert, and unmold. Dust with confectioners' sugar, if desired. Cookies can be stored between layers of parchment in airtight containers at room temperature up to one day.

Wednesday, April 22, 2009

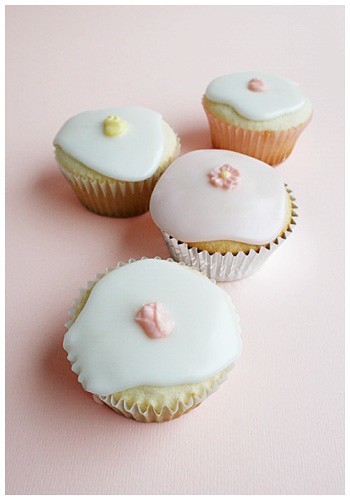
Fairycakes

I lived in London for a few years (I'm American) and while I was there, I have to admit - and my sincerest apologies to any Brits reading this - but I had pretty bad experiences whilst exposed to English baking. There was just something I didn't GET. From the Christmas puddings to the dense, dry cakes; I suspect I just didn't know where to find GOOD bakery because the local shop on the high street just wasn't it.

So when I started investigating these cupcakes and discovered the glaze-like icing more or less classified it as traditionally British and therefore a "fairycake", I got a little nervous. I did a little further investigation and found that "fairycakes" are kind of just what the British call cupcakes and there's no set recipe or characteristic to the cake itself. A weight was lifted. So I chose something light because, you know. Fairies. (C'mon; I was getting in the spirit!) I found a White Velvet Butter Cake recipe in Rose Levy-Beranbaum's Cake Bible and was intrigued by her endorsement as "the softest and most delicate of all butter cakes". Perfect!


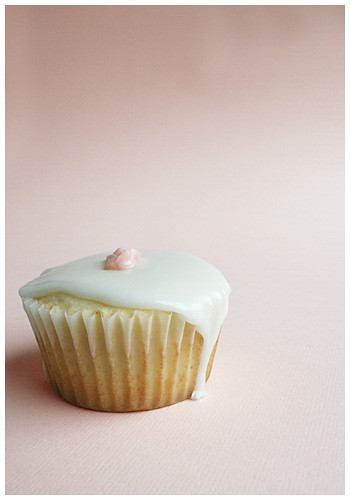
Now, one characteristic that DOES seem a standard of fairycakes is baking the cake small and low enough so the runny icing can be caught by the cup sides and it makes this darling-looking cupcake. Well. I thought I filled them low enough but the damn cakes just rose and went all normal on me. Next time, I'll try half full or maybe even less than that!

I was pleasantly surprised with the cake, though. Rose wasn't lying; it's lovely and soft. AND despite it being soft, it worked; sometimes, when cupcakes are too soft, they're hard to handle or can't take the weight of even a basic buttercream or frosting. Because I was using such a light icing, the soft cake was perfect.


However, the icing didn't come out tasting as I expected. I'll chalk that up to inexperience. I used just powdered sugar and lemon juice, expecting the sugar to dull out the lemon. Yeah, that didn't happen. So instead of just being a sweet icing, it's lemon icing. But that's okay because the cake itself isn't too sweet and the two go well together (but lemony).

So, I have the powdered sugar sifted and the lemon juice waiting to put together for the icing when I realize I have no sprinkles. That was the whole point of these things - that you just sprinkle pretty sparklies on top and they sink into the thin icing while it's wet and it still looks adorable! And I have NONE. So. Plan B. I whipped out my white chocolate, melted it, added some coloring and started using toothpicks to put it in these tiny flower molds. I was surprised to see how cute they came out looking (especially since I had nothing else).

It's my birthday today so these are kind of perfect to post. Because they're pink and fun and wee!


WHITE VELVET BUTTER CAKE
Source: The Cake Bible, by Rose Levy Beranbaum

4 1/2 large egg whites
1 cup milk
2 1/4 teaspoons vanilla
3 cups sifted cake flour
1 1/2 cups sugar
1 tablespoon + 1 teaspoon baking powder
3/4 teaspoon salt
12 tablespoons unsalted butter (must be softened)


Preheat oven to 350 degrees F.

In a medium bowl lightly combine the egg whites, 1/4 cup milk and vanilla.

In a large mixing bowl combine the dry ingredients and mix on low speed for 30 seconds to blend. Add the butter and remaining 3/4 cup milk. Mix on low speed until the dry ingredients are moistened. Increase to medium speed (high speed if using a hand mixer) and beat for 1 1/2 minutes to aerate and develop the cake's structure. Scrape down the sides. Gradually add the egg mixture in 3 batches, beating for 20 seconds after each addition to incorporate the ingredients and strengthen the structure. Scrape down the sides.

Scrape the batter into the prepared pans and smooth surface with a spatula. The pans will be about 1/2 full. Bake cupcakes 15 to 18 minutes (or two 9-inch by 1 1/2-inch pans greased and bottoms lined with parchment then greased again for 25 to 35 minutes) or until a tester inserted near the center comes out clean and the cake springs back when pressed lightly in the center. (Cake will be light and will not brown even when done.) The cakes should start to shrink from the sides of the pan only after removal from the oven.

Let the cakes cool in the pans on racks for 10 minutes. For 9-inch pans, loosen the sides with a small metal spatula and invert onto greased wire racks. To prevent splitting, reinvert so that the tops are up and cool completely before wrapping airtight.


LEMON ICING
Sift powdered sugar to remove lumps. Mix with freshly squeezed lemon juice until icing is in a thick but runny enough consistency to slowly run over top of cupcakes.
Add small amount of coloring if desired.


Friday, April 17, 2009

I'm back, baby

After my last disappointing baking venture, I took a week or so off then decided to try something new. I settled on something easy but good, fresh for spring and pretty: lemon madeleines. I got everything set up, turned on the oven to preheat, mixed all the dry ingredients, had the eggs broke in a bowl and at room temperature. I'm just about to mix the wet and dry ingredients together when I notice the oven has never beeped that it's preheated. Curiously, I open the door and see that it's dead cold. :-O WUT.

Long story short, two weeks later a new (expensive) part is shipped in and the repair guy restores old [not-so] faithful! IT'S BACK. And I've been DYING to bake for the past two weeks like crazy. Well, tomorrow's the day!!

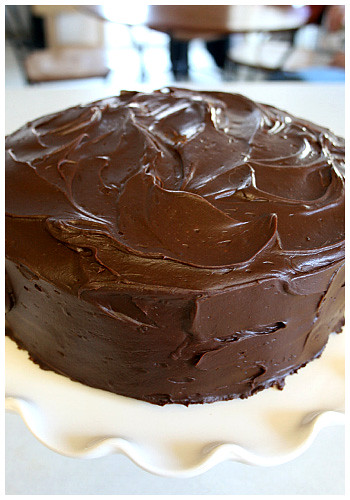
But before all this happened (the day before, to be exact), I got my mom's birthday cake baked. She wanted something chocolatey and I remembered this cake from last year as rather intense. What I DIDN'T remember was that it calls for deeper pans than I had because it expands a lot. Thankfully, I remembered before the pans went into the oven (I made a mini 6" cake with the extra batter). So. Beware, if you make this. It makes a lot of cake. But moist and yummy! Good the next few days too!

Monday, March 30, 2009

Simple

I am embarrassed, of course, at my lack of updating. But trust in the fact that it's not that I've been baking up a storm and just neglecting my blog; I haven't been baking ANYTHING. It's all the XBox's fault; I got one for Christmas and never got off of it.

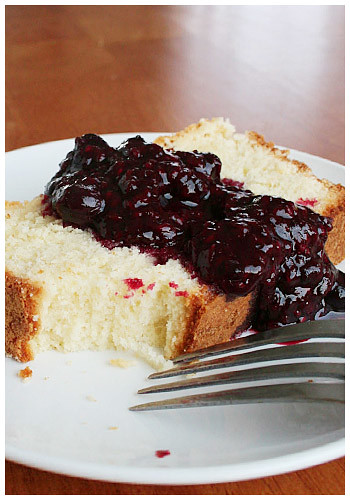
I finally found the motivation to bake something and had to scrounge up what I had in the house. That ended up being the most basic of basics: vanilla pound cake. It needed something extra, though, and I immediately thought of berry compote (because I had frozen mixed berries).

I grabbed a high rated recipe from All Recipes and you know what? I'm kind of starting to get irritated with All Recipes. Or, at least, the people reviewing on it. I made this highly rated recipe and it is utterly mediocre. I mean, to have that many stars, you'd think it'd be mouth wateringly AWESOME. But it's just not. It's bland and absolutely NEEDS the compote or other accompaniment. I always thought of a good pound cake as one so buttery and delish, it melts in your mouth a little. Because of all the butter. Delicious butter... But this one doesn't.

The berry compote, however, I got from Williams-Sonoma and it IS good. I think I'm going to stick to legit sources from now on... I won't be making this pound cake again but the compote is a keeper. I used a bag of frozen mixed berries that included raspberries, blueberries and marrionberries.

Together, they're good, but maybe that's because you're mostly just tasting the compote...


Cream Cheese Pound Cake III
Source: All Recipes, Submitted by: Nanci

1 (8 ounce) package cream cheese
1 1/2 cups butter
3 cups white sugar
6 eggs
3 cups all-purpose flour
1 teaspoon vanilla extract


1. Preheat oven to 325 degrees F (160 degrees C) grease and flour a 10 inch tube pan.

2. In a large bowl, cream butter and cream cheese until smooth. Add sugar gradually and beat until fluffy.

3. Add eggs two at a time, beating well with each addition. Add the flour all at once and mix in. Add vanilla.

4. Pour into a 10 inch tube pan. Bake at 325 degrees F (160 degrees C) for 1 hour and 20 minutes. Check for doneness at 1 hour. A toothpick inserted into center of cake will come out clean.


Berry Compote
Source: Williams-Sonoma

6 cups mixed berries
5 Tbs sugar
2 tsp lemon juice

In a saucepan over medium heat, stir together the berries, 2 Tbs. of the sugar and the lemon juice. Bring to a simmer and cook, stirring occasionally, until most of the berries have broken down and the mixture is thickened, about 30 minutes; reduce the heat if the compote sticks to the pan. Remove from the heat and let the compote cool to room temperature.

Wednesday, December 31, 2008

Holiday Cookies


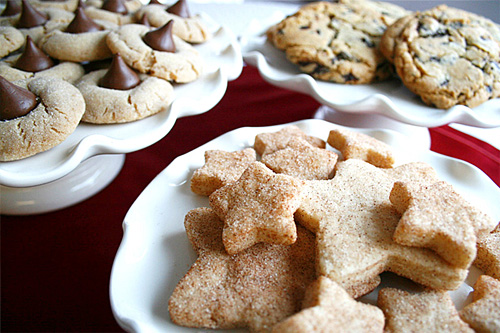
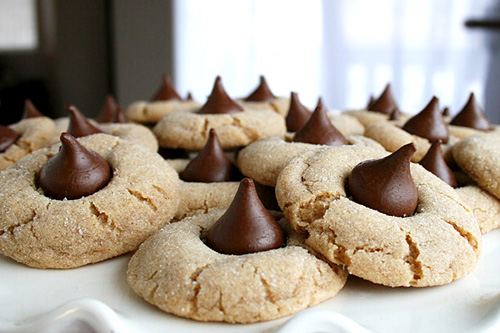
A few weeks ago, I made about 12 dozen cookies to give away to family and friends for the holidays. I made sugar (a bust), peanut butter blossoms, magic cookie bars, chocolate chip cookies and biscochitos. I sent packages of a variety of these goodies to friends and that was the most fun. My friends were pleasantly surprised to receive a box of cookies out of no where which makes me all kinds of giddy!


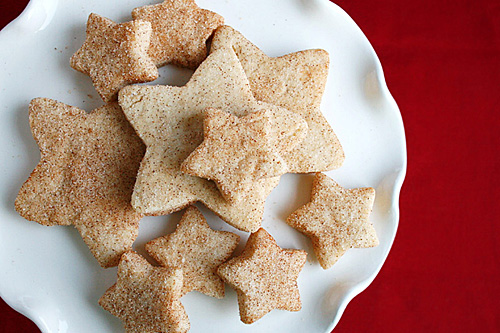
Peanut butter blossoms are a tradition every Christmas and I used this same awesome recipe for the chocolate chip cookies. This is the first year I made the biscochitos, though, which are a Mexican (or Spanish, if you want to go that far back) cookie that we always get at the Mexican bakeries in Houston. I had a few recipes but the first I tried called for lard. Now, I've never SEEN lard, I've never SMELLED lard and I've certainly never COOKED with lard before. It was definitely different. I actually kind of thought it smelled like turkey. Weird, I know. But I made the cookies which vaguely smelled (like turkey, to me) and I just couldn't give them away. I made another batch with Crisco and they were SO MUCH better. My mom said, after comparing the two, that the lard cookie tasted richer. I agree but mostly because the Crisco cookie might've been lighter because it didn't have that heavy turkey taste. (I kid! But seriously; that mess is OFF.)
So I sent out the Crisco biscochitos to my friends in the shapes of Christmasy stars! Because my first attempt at sugar cookies was a bust, I had a second go at them. (See further down.)

It's funny but I made all those cookies and because I planned to give so many away, I really only ate one or two from each batch. I had to save the rest for others! So I made another pan of Magic Cookie Bars that stayed home for family. They're kind of my favorite bar-thing on the planet so. I gots to have some for meeeee.


BISCOCHITOS

1 cup vegetable shortening
2/3 cup sugar
1 egg
2 to 4 Tablespoons red wine, brandy or sherry
1 to 1 1/2 teaspoons crushed/ground anise seed
3 cups flour
2 teaspoons baking powder, optional
1/2 teaspoon salt, optional

Cinnamon Sugar:
1/4 cup sugar
1 tablespoon ground cinnamon


Preheat oven to 350°.

Beat lard with an electric mixer until light and fluffy. Slowly beat in the sugar, then the egg. Beat in 2 Tablespoons of the wine and the anise seed. Toss the flour together with the baking powder and salt, if using. Gently stir in, adding more wine as needed to form a soft dough. Let stand for 10 minutes or cover with plastic wrap and refrigerate for 15 minutes.

On a lightly floured surface, roll out 1/4-inch thick and cut into shapes as desired. Dip the top side of each cookie in the cinnamon-sugar and place on ungreased cookie sheets, about 1 inch apart.

Bake for 10 to 15 minutes, depending upon size, just until the edges turn a pale blond. Let cool a few minutes then remove to a wire rack to cool. Store in a cookie jar or airtight container.


THEN I committed myself to making sugar cookies and it came down to Christmas Eve but I did them. Next year I'll prepare better and do them right but these came out cute. :)


Friday, December 5, 2008

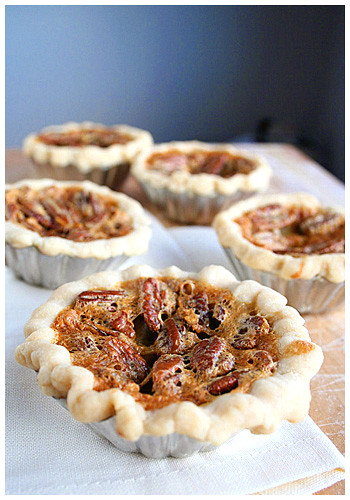
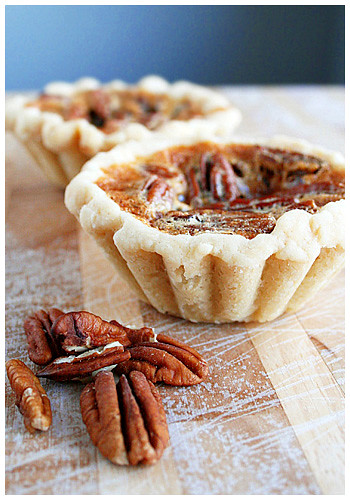
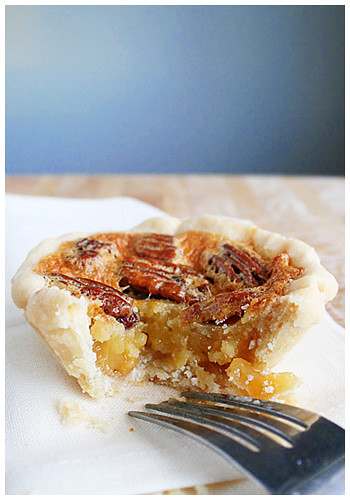
Mini Pies!

As I mentioned in the last post, I made a chocolate pecan pie for work and didn't get to taste it. Then my mother made the same pie for Thanksgiving and I had a small piece (because there were three pies to sample!). So the week after Thanksgiving, I realized I didn't get my pecan pie fix like I shoulda. I didn't want to make a whole pie for myself. C'mon give me some credit; I do have some control. However I needed it so the solution was clearly MINI pie.

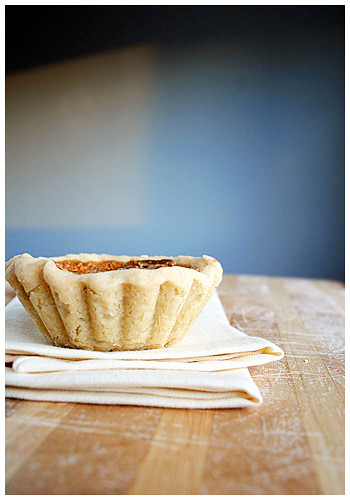
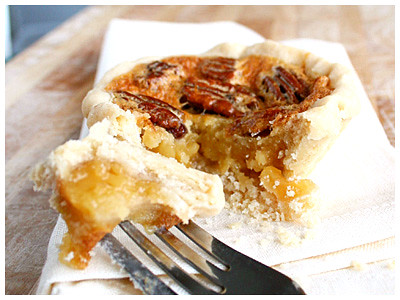
I used the same Pecan Pie recipe from the last post (without the chocolate) and simply split the filling recipe in half. I used the equivalent to one pie crust and it made five mini tart/pies. The only adjustment I had to make was to the baking time: I lowered the temperature to around 320 degrees and it ended up baking 40 minutes or so. The toothpick test will let you know when they're done!

They're perfect for one serving of your very own little pie! :)

Sunday, November 30, 2008

Invisible cakes and pies

Okay, here's the thing: I HAVE been baking over this past month. However. It's been for work parties and such so I haven't been able to take proper pictures and cut them open, etc. Unless I cut a piece out and took it to work that way. 'Happy Birthday! Oh BTW, I already had a piece. That's cool, right?'

So I've made a pumpkin cake with cream cheese icing which was pretty all right. I'd make it again (and might so I can post about it and someone other than my coworkers can taste it). I also made a pumpkin pie for Thanksgiving that was an experiment that I didn't love. It involved a crumb topping that didn't work out. I won't make that again.

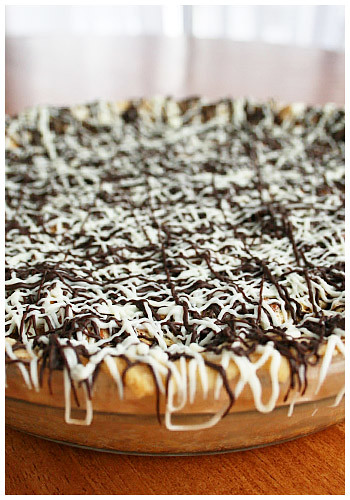
Then I made a chocolate pecan pie which is a Thanksgiving tradition in my family. It's very rich and very sweet but we love it; we have it every year. It might look like a lot but trust me, if your tastes run decadent, this pie is definitely for you.

SOUTHERN CHOCOLATE PECAN PIE

1/2 cup sugar
1/4 cup butter (melted)
1 cup light corn syrup
1/4 tsp salt
1 tsp vanilla
3 eggs
1/2 cup chocolate chips (plus more for drizzling on top)
1 to 1/2 cups pecans
1 9-inch deep dish pie shell (unbaked)


1. Preheat oven to 350 degrees F.

2. Mix sugar and butter well in mixing bowl. Add syrup, salt and vanilla. Mix again. Add eggs one at a time and mix after each.

3. Spread chocolate chips over bottom of unbaked pie crust. Spread pecans over chocolate chips. Pour mixture on top of both chocolate and pecans.

4. Bake until top is brown and pie set (about 45-55 minutes). Toothpick stuck in center of pie should come out almost dry.

5. When pie is completely cool, drizzle melted white and dark chocolate on top (easiest way is to slowly microwave in a Ziplock freezer bag and cut small hole in bottom corner of baggie).

Monday, November 3, 2008

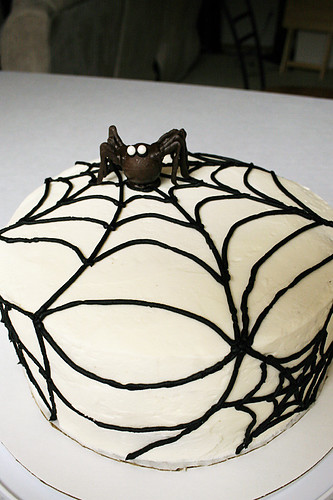
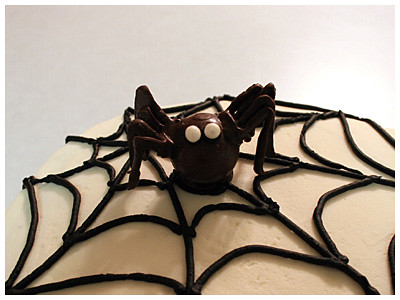
Spider Cake

This is getting to be a THING, methinks...

I made this for the cake walk at my work and the woman who picked it was very pleased! She had a gathering the next night and said all her friends enjoyed it and asked for the recipe! It was awesome!


It was just my usual chocolate cake in two layers and vanilla buttercream (recipe here). The lady who took it really liked the frosting. lol. I thought, who doesn't??

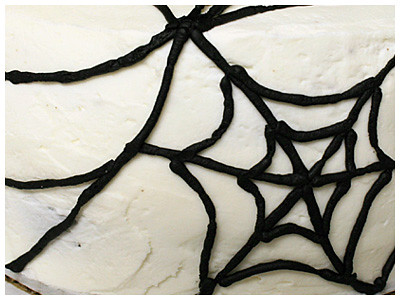
The black is the premade Wilton tube frosting; I didn't want to mess with trying to color my own because black is never as good as Wilton's makes it. And it tasted fine!

It didn't come out perfect; if I were to do it again, I'd use a thinner tip for the web and I'd make a GIANT spider (possibly with balloons...)

Friday, October 10, 2008

Pumpkin On!


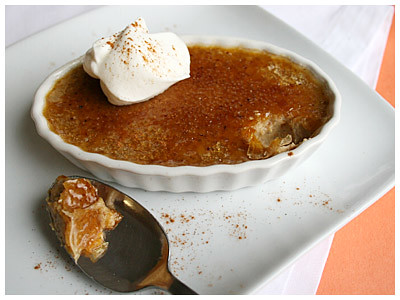
The pumpkin madness continues! I noticed a weird trend, though, when I jumped back in my blog to last fall: THEN I made a bread pudding, a pumpkin dessert, some chocolate chip cookies, some strawberry and tea cookies, a crème brûlée... Are we sensing a pattern here? Yeah, these are all things I've made THIS fall too. Granted, they're variations on flavors this year but still. Seems like in the fall I get cravings for a lot of the same stuff: comfort foods and pumpkin! I have to make it my mission to try some new stuff when I get back from my vacation.

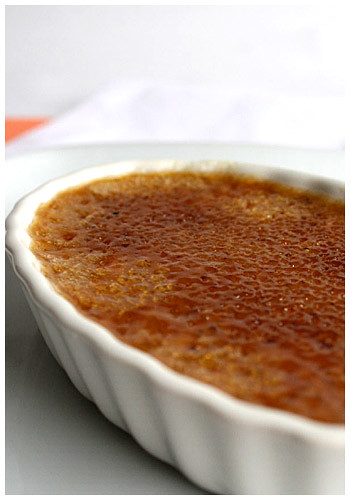
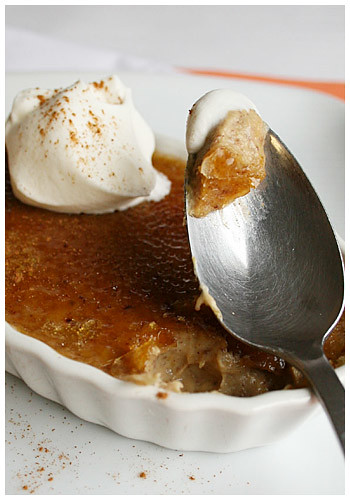
But back to THIS recipe. The funny thing about pumpkin desserts which inevitably have the same familiar spices is, they kind of all remind you of pumpkin pie. This crème brûlée was just like that, pie-like, only in a softer texture.


The exciting thing with this crème brûlée, however, is that I borrowed my mom's serious, hardware-section blow torch and it worked PERFECTLY. No more putting the custards under a broiler and hoping they come out evenly done (but always burning just a little bit too much). I had complete control to make it an even, perfectly browned, sugar top! I will never use anything else again!

And my mom said it didn't need whipped cream but I just can't help it; pumpkin just seems wrong without it...


PUMPKIN CRÈME BRÛLÉE
Source: Williams-Sonoma

1 1/2 cups heavy cream
1 1/2 tsp. freshly grated cinnamon
1/4 tsp. ground allspice
1/2 tsp. freshly grated ginger
3/4 tsp. freshly grated nutmeg
5 egg yolks
1/2 tsp. vanilla extract
Pinch of salt
6 Tbs. pumpkin puree
1/3 cup plus 4 tsp. granulated sugar
1 Tbs. firmly packed light brown sugar


Preheat an oven to 300°F. Have a pot of boiling water ready.

Pour the cream into a small saucepan and whisk in the cinnamon, allspice, ginger and nutmeg. Set over medium-low heat and warm the cream mixture until bubbles form around the edges of the pan and steam begins to rise from the surface, about 3 minutes. Remove from the heat and let stand for 15 minutes.

In a large bowl, whisk together the egg yolks, vanilla, salt, pumpkin puree, the 1D3 cup granulated sugar and the brown sugar until smooth and blended. Slowly pour in the cream mixture, stirring until blended. Pour the mixture through a fine-mesh sieve set over a bowl. Divide the mixture among four 8-fl.-oz. ramekins and place in a large baking pan. Add boiling water to fill the pan halfway up the sides of the ramekins. Cover the pan loosely with aluminum foil and bake until the custards are just set around the edges, about 30 minutes.

Transfer the ramekins to a wire rack and let cool to room temperature. Cover with plastic wrap and refrigerate for at least 4 hours or up to 3 days.

Just before serving, sprinkle 1 tsp. granulated sugar evenly over the surface of each custard. Using a kitchen torch according to the manufacturer's instructions, move the flame continuously in small circles over the surface until the sugar melts and lightly browns. Refrigerate until sugar top hardens slightly then serve. Serves 4.