I'm always a little floored when I get compliments from strangers on my baking. It takes a second and I get all flustered and don't know how to appropriately convey my utter gratitude so it comes out like a rushed 'oh thanks...' Which is too casual and completely inadequate with how amazing their compliment makes me feel.
The ultimate compliment, of course, is being asked to make something special for someone. My best friend asked me to make her first son's birthday cake (which I bombed by making a blue monstrosity - I'm sorry, Tres! ILU!) and I've happily donated cakes for office parties. This petite cake was made for an individual in the office who just asked for a small chocolate cake. It's two layers of a 6-inch round which might be my favorite mini cake size ever.
I'm a sucker for berries and chocolate so I liked how it turned out. And the ganache finally dripped so prettily!
I used the same chocolate cake recipe I always use, Beatty's Chocolate and a basic chocolate buttercream BUT I have to share the ganache ratio since it took me forever to find one that works:
Chocolate Ganache
6 ounces semi-sweet chocolate
2/3 cup heavy cream
1 tablespoon corn syrup
Good luck not putting that stuff on everything - berries, cookies, toast. It's allll good.
Saturday, February 9, 2013
Thursday, January 31, 2013
Cookie Olympics
Ho-ho-ho. I really feel like if I got this post out before February, it's a win. It's not THAT late; it's only January!
Anyhoo, since I started making cookies last March, I've developed a lot of techniques and slowly (hopefully) have gotten better with each batch. Christmas is like the Cookies Olympics. I kept thinking, 'I've been training all year for this!' And they came out okay! I'll keep training and see where I get next year. :)
Anyhoo, since I started making cookies last March, I've developed a lot of techniques and slowly (hopefully) have gotten better with each batch. Christmas is like the Cookies Olympics. I kept thinking, 'I've been training all year for this!' And they came out okay! I'll keep training and see where I get next year. :)
I was given the partridge in a pear tree cutter just before the holiday and got the design from Sweet Sugar Belle who is amazing, as always. The red/blue frosty themed cooks were probably my favorite because I loves me some red and blue.
Now that Christmas is over, I can start on Valumtimes!
Wednesday, January 30, 2013
Double Musky Carrot - er, Everything Cake
Every year I make my dad's birthday cake and it gives me an excuse to try recipes I've been itching to attempt. This year I non-too-subtly persuaded him to a carrot cake that's famous around these parts. It's from the Double Musky, a local restaurant here in Alaska, and it's loaded with stuff. I mean, it should be called the kitchen sink cake: carrots, walnuts, pineapple, coconut, pecans; you name it.
And guess what? It's AWESOME. Seriously; like the best carrot cake I've ever had. And don't be scared of the stuff: you don't even really taste the pineapple. It just adds a ton of moisture so it's goooood.
Now, usually it's in a ho-hum 9x13 pan but this was a birthday so I went for two rounds to fancy it up. I'm also not a huge cream cheese frosting fan so I weakened the tanginess by adding a little more powdered sugar to the recipe and whipping the stuff within an inch of its life - it came out nice and light which was a perfect compliment to the dense, richness of the cake! (The frosting even drew it's own compliments!)
Seriously, this one was hard to stop eating. If you have any inclination for carrot cake, TRY THIS RECIPE RIGHT NOW. Mmm, just looking at the pictures is giving me mouth-watering flashbacks...
Double Musky Carrot Cake
Adapted from source: Cheryl Canter
2 cups sugar
1 1/2 cups vegetable oil
3 eggs
2 tsp vanilla
2 1/4 cups all purpose flour
2 tsp cinnamon
2 tsp baking soda
1 tsp salt
2 cups finely shredded carrots
2 cups flaked coconut (I used sweetened)
1 20 ounce can crushed pineapple, drained
1 cup walnuts, chopped
Frosting:
8 ounces cream cheese, room temperature
1/4 lb. butter, room temperature
2 tsp vanilla
1/4 tsp salt
4 cups powdered sugar
3/4 cups pecans, chopped
May add 1/4 cup milk to thin
Preheat oven to 350 degrees. Grease or butter two 9-inch round cake pans, add cut parchment round to bottom and grease; set aside.
Mix sugar, oil, eggs, and vanilla. Stir in flour, cinnamon, soda, and salt. Fold in carrot, coconut, pineapple, and nuts. Pour into greased pans. Bake at 350 degrees for 35-50 minutes, or until a tester inserted into center comes out clean. Cool completely.
Frosting: Beat cream cheese and butter until lumps are gone. Combine with vanilla, salt, and powdered sugar, mixing with electric mixer until it’s light and airy. (The longer you mix, the lighter it will be!) Spread on cooled cake. Garnish immediately with chopped pecans to wet frosting.
New Pumpkin Pie
Boy, have I got a lot to catch up on. The holidays are always crazy for me and then I was out of town just after for another two weeks! But all is well and I'm back, ready to share what went down over the last two months.
First, I made a new pumpkin pie recipe from a highly repinned Pintrest note... You know, I can't decide about Pintrest. There's pretty pictures, yes, but then I see people that try a recipe or craft and bemoan how misleading or awful it turned out! You go in thinking these are reliable, tested ideas! Alas it's just people promoting their own stuff a lot of the time so I guess I have to train my eye to recognize what's legit and what's not.
This one turned out to be a Cook's Illustrated adaptation and while it was okay, I dunno. The cream and milk diluted the pumpkin a bit and I like a looooot of pumpkin in my pie. My family liked it but, meh. For Christmas I went back to good ol' Libby's and it was way better, IMHO.
This recipe actually made too much for my pretty deep dish pie plate so I made a mini one extra - which I enjoyed by myself days later. mwha. Mini pie!
Pumpkin Pie
Cook's Illustrated, 2008
1 recipe for single pie crust (I used Williams-Sonoma's Basic Pie Dough)
1 cup heavy cream
1 cup whole milk
3 eggs plus 2 egg yolks
1 teaspoon vanilla extract
1 (15-ounce) can pumpkin
1 cup drained candied yams (from 15-ounce can)
3/4 cup granulated sugar
1/4 cup maple syrup
2 teaspoons grated fresh ginger
1/2 teaspoon ground cinnamon
1/4 teaspoon ground nutmeg
1 teaspoon salt
1. Prepare the crust and refrigerate for at least 1 hour.
2. Adjust the oven rack to the lowest position, place a rimmed baking sheet on the rack, and heat the oven to 400 degrees F. Remove the dough from the refrigerator and roll it out on a lightly floured work surface to a 12-inch circle about 1/8 inch thick. Roll dough loosely around rolling pin and unroll into pie plate, leaving at least 1-inch overhang on each side. Working around circumference, ease dough into plate by gently lifting edge of dough with one hand while pressing into plate bottom with other hand. Refrigerate 15 minutes.
3. Trim overhang to ½ inch beyond lip of pie plate. Fold overhang under itself; folded edge should be flush with edge of pie plate. using thumb and forefinger, flute edge of dough. Use a fork to prick the dough all over the bottom and sides of the pie plate. Refrigerate dough-lined plate until firm, about 15 minutes.
4. Remove pie pan from refrigerator, line crust with aluminum foil or parchment paper, and fill with pie weights or dried beans, filling the whole way up to the rim of the pie plate. Bake on rimmed baking sheet 15 minutes. Remove foil/parchment and weights, rotate plate, and bake 5 to 15 additional minutes until crust is golden brown and crisp. Remove pie plate and baking sheet from oven.
5. While the pie shell is baking, whisk cream, milk, eggs, yolks and vanilla together in a medium bowl. Combine the pumpkin, yams, sugar, maple syrup, ginger, cinnamon, nutmeg and salt in a large heavy-bottomed saucepan; bring to a sputtering simmer over medium heat, 5 to 7 minutes. Continue to simmer pumpkin mixture, stirring constantly and mashing yams against sides of pot, until thick and shiny, 10 to 15 minutes.
6. Remove the pan from heat and whisk in the cream mixture until fully incorporated. Strain the mixture through a fine-mesh strainer set over a medium bowl, using the back of a ladle or spatula to press solids through strainer. Rewhisk mixture and transfer to warm prebaked pie shell. Return pie plate with baking sheet to oven and bake pie for 10 minutes. Reduce heat to 300 degrees and continue baking until edges of pie are set and the center looks firm but jiggles slightly (instant-read thermometer inserted in center registers 175 degrees), 20 to 35 minutes longer. Transfer pie to wire rack and cool to room temperature, 2 to 3 hours. Serve with whipped cream.
Monday, November 12, 2012
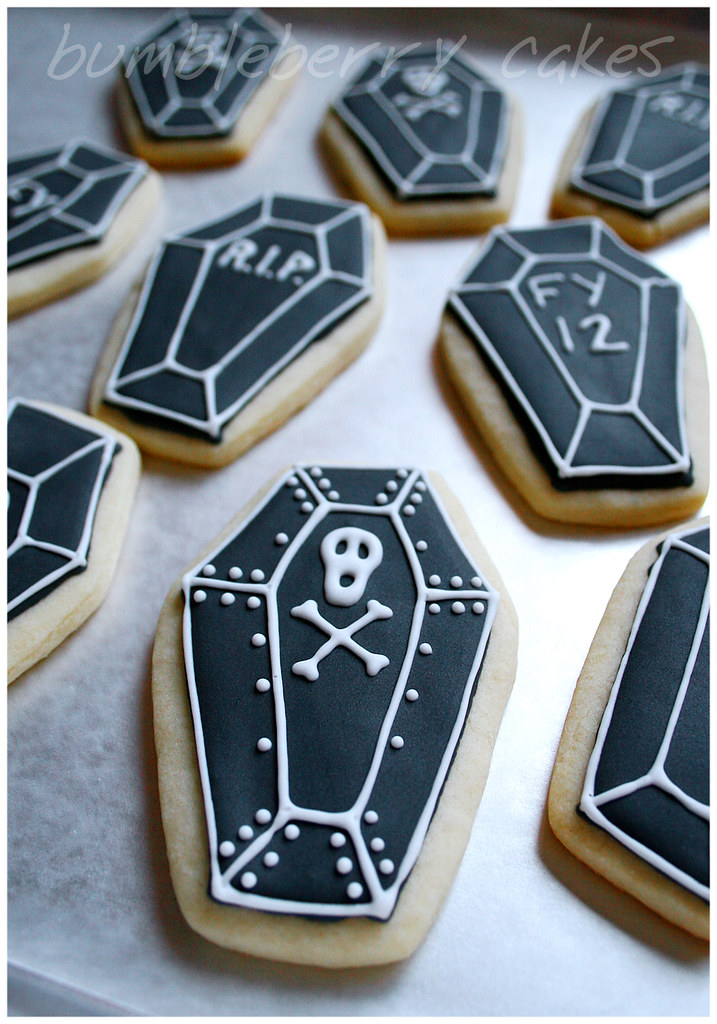
RIP Halloween
You know, I'm never quite sure if I'm giving enough credit or homage to the bloggers, bakers and creative souls who share their recipes and designs to us online. I always reference whomever shared a recipe or design I reblog. I hope knowing they're inspiring others gives those that share a sense of accomplishment at being amazing and awesome.
I say this now because this adorable design is an almost exact replica of these gorgeous tombstone cookies (which you can buy!) from sugarandflour on Etsy. (Except mine are less professional or beautiful!) I used the large Wilton tombstone cutter so these were really two normal sized cookies in one. Now, some explanation:
In the federal government, the fiscal year runs from October 1 through September 30. So once a fiscal year (FY) is over, we celebrate! Good riddance! My office usually has an end-of-year breakfast party. My mom's office decided to have a RIP Fiscal Year 2012 party. I was asked to make some cookies for it and I was happy to because they're kinda Halloween-ish and this is my FAVORITE holiday ever.
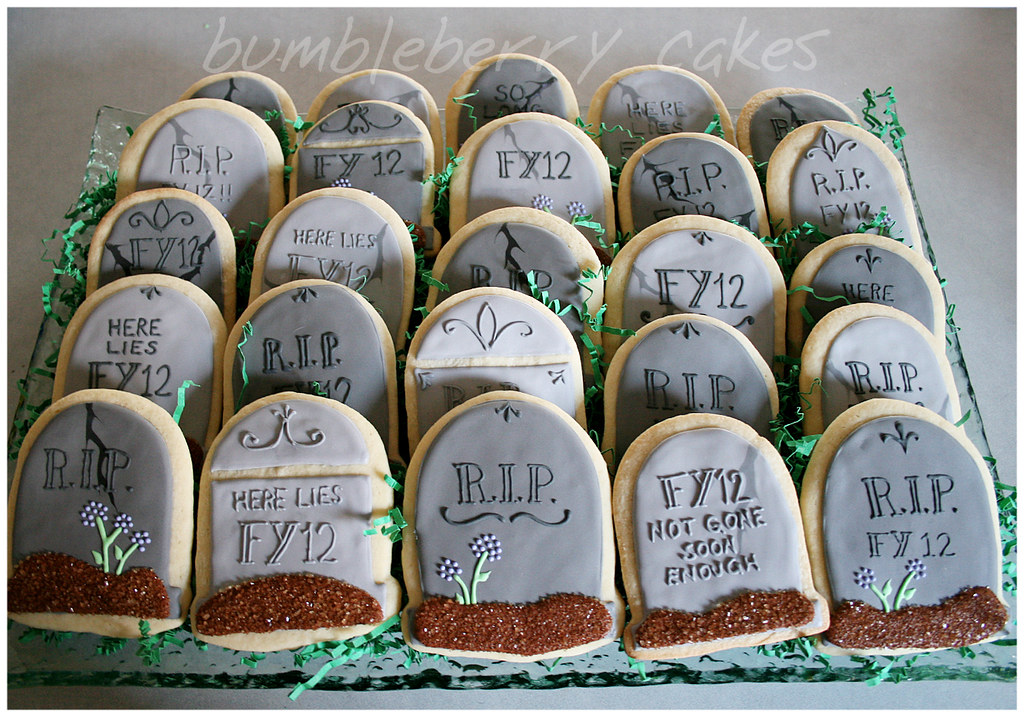
This is the first cookie platter I've done and I was really happy with the whole graveyard thing. AND the green filler stuffing (I MEAN, grass) worked perfectly at padding the cookies and keeping the icing from breaking. Yay!
So here lies so and so. Thank you to sugarandflour for sharing such a wonderful design!
Saturday, October 27, 2012
Is it too autumn for Lemon Raspberry??
When I live somewhere more conducive to growing fruits and vegetables, I swear I want a whole backyard full of the junk. Strawberries, raspberries, oranges, grapefruit, avocados; everything!
As it is, the only fruit I have access to in the late summer is raspberries that grow at my mom's. I got a decent bowlful in August and went in search of something new. What I found wasn't a solely raspberry concoction but it sounded too good not to try.
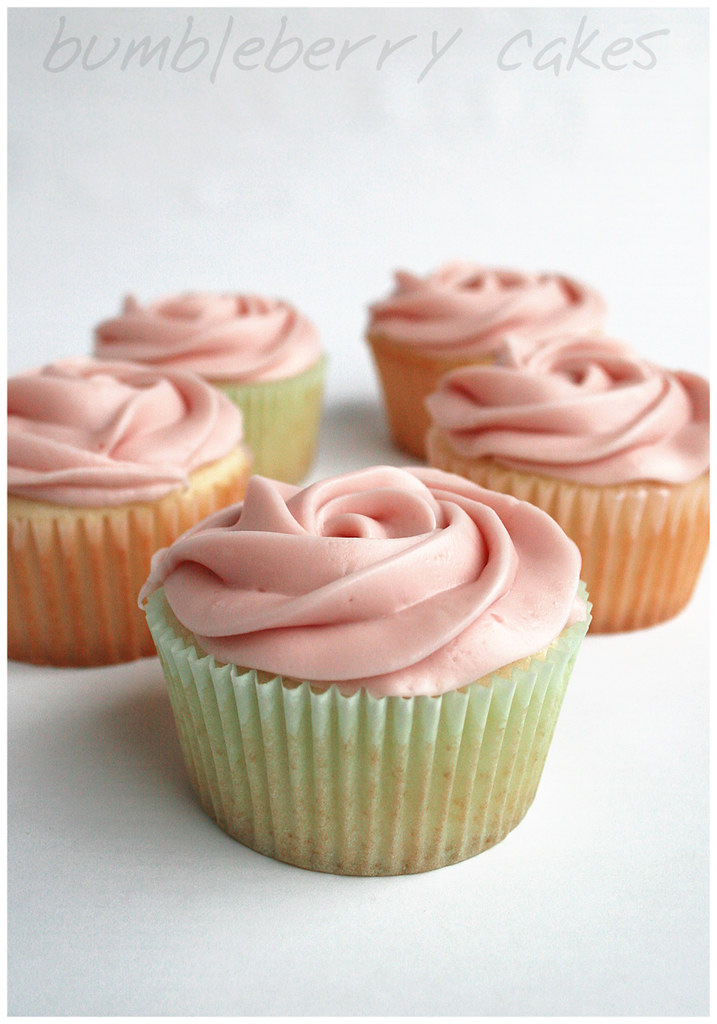
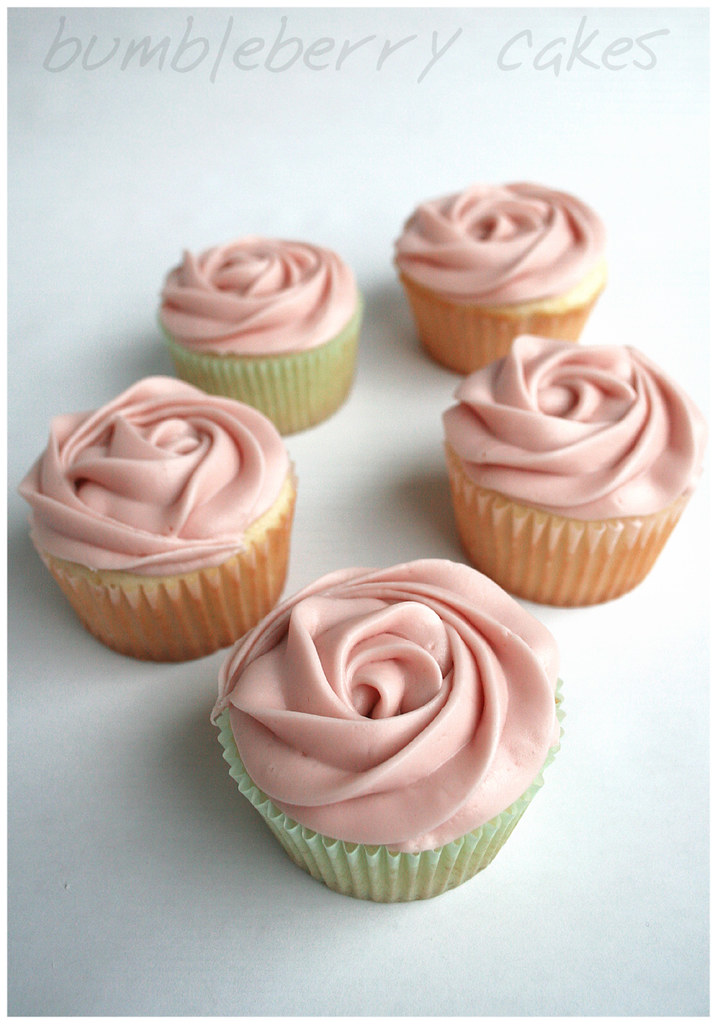
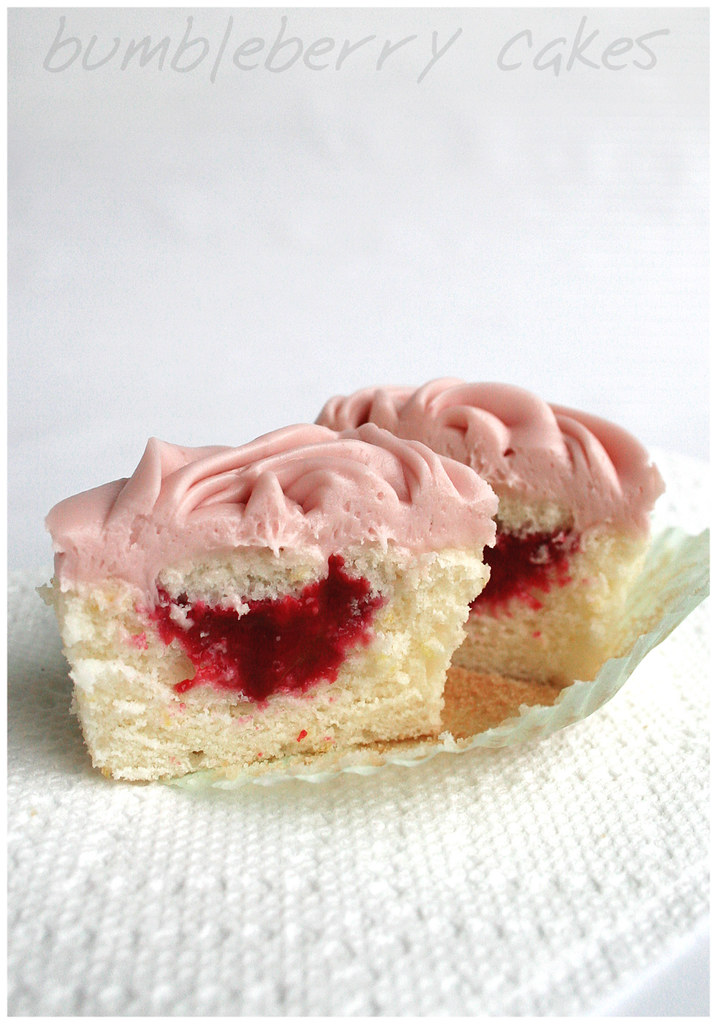
As advertised at Erica's Sweet Tooth (thank you for publishing the recipe!), these came out lovely and delicate but with just the right balance of flavor. The 'lemon' cupcakes have only a hint of zest in them and make a stable but light counter to the berry filling. And my family loved the raspberry cream cheese frosting.
All around a hit! Recipe at Erica's Sweet Tooth.
Friday, September 28, 2012
London, a second (third?) home
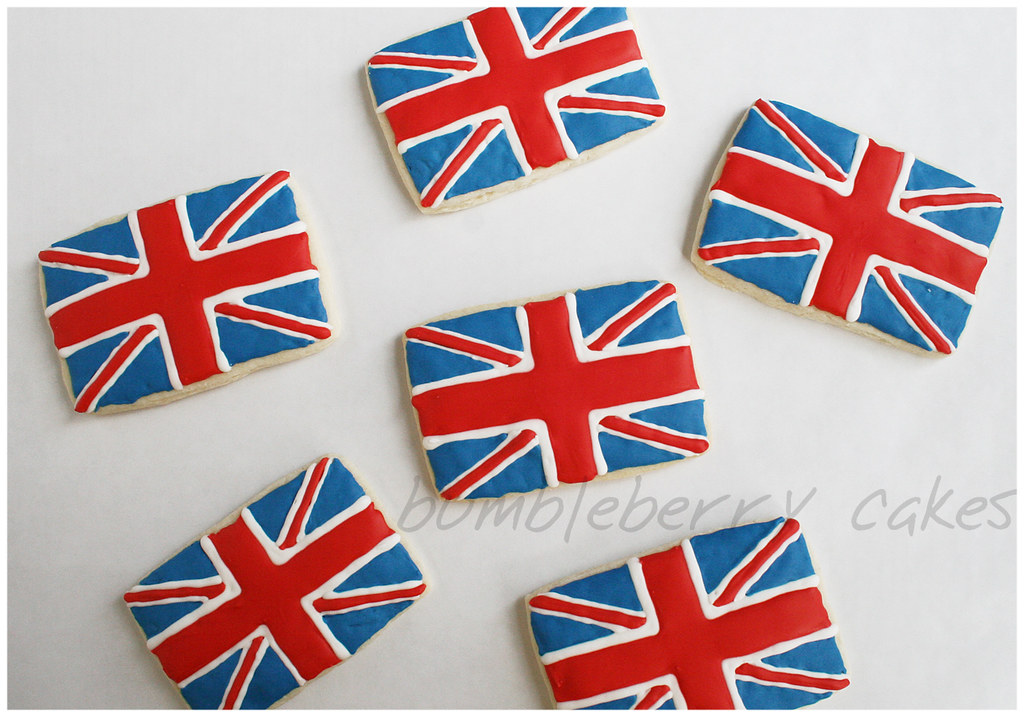
I know I've mentioned on this blog before but I used to live in London about 10 years ago and loved it dearly. Well, I'm finally getting back this week and I made some cookies a few weeks ago in anticipation. When I think of England, I think the Union Jack, PG Tips and football!
Even though I lived there for years, I'm ashamed to admit I didn't do all the touristy stuff I should've. Never went to Buckingham Palace or Westminster Abbey. It almost seemed unnecessary. I had to go to work and go to school and junk; I didn't have time to stand around with tourists! But I should have made time because now I'm one of those tourists. Sort of.
It's a weird mix of seeing new stuff (The London Eye was just opened and SO touristy when I was there) and old favorites (omg omg Harrod's I love so muhuhuhuch). AND my 15 year old nephew is going to experience a new country for the first time. I'm so excited for him!
About the cookies, I tried a new technique of completely painting with coloring diluted with vodka (because it dries quick). On the red roses, I used a color pen for the detail and softened it with a brush. It's a technique I'd like to play with a little more with better brushes but I liked it! Like little canvases!
So this Sunday, I'll be in London having Sunday roast then watching Downton Abbey. UGH. SO English!! I'll check back in a couple weeks when I return! Cheers!
Sunday, September 16, 2012
Football is finally here!
My family is Texan and, as such, we are football people. I went to UT who (sorry my dear Aggie friend, Kelly) have the greatest football team in the state (
I grew up watching the Houston Oilers and was quite heartbroken when they were dissolved in 1998. Then in 2001 we finally got football back in Houston and all was good in H-Town. (hey, check it out Aggies: even the Longhorn is the symbol of all Texans. IN YO FACE.)
So we do fantasy football in my family and another league with friends. Being as excited as I was for the season, I made these for our drafts and was pretty pleased with how they came out. The Texan was, obviously, the hardest and the only one I did by a template. I used a #1 tip and went verrrrrry slow. lol. If I was to do it again, I'd attach the fragile piece to a solid backing before putting it on the cookie; it was VERY thin, didn't sit flat on the uneven cookie base, and broke easily.
The other teams were my friends' favorites which were fun to give out to them. I'd have to say, as much as I love the Texans symbol on everything, I think the footballs were my favorite. Footballs don't even look like that anymore but they're just so precious!
The Texans are looking good this year but I'm a superstitious gal so I won't say anything more. Except ANDRE JOHNSON IS MY PRECIOUS DARLING.
Tuesday, July 31, 2012
Fancy Cake For Practice
After making so many cookies, I got very comfortable with royal icing and the piping bags and the whole routine of it. I was asked to make a cake (or three) for my office and realized I was way out of practice in just CAKES: my first love. So I set out to make a tester just to get back in the groove.
I chose the Joy of Cooking's basic white cake because I'm always eager to try staples that have withstood the test of time. I was also very eager to try out a few new bits and bobs as recommended by the cake queen, Rose Levy Beranbaum. That lady is amazing. I'm talking so meticulous and exact, I read The Cake Bible with my jaw gaping. How to open and close the oven door?? (She says GENTLY so as not to force too much of the heated air out). In awe of her. SO. I got to try out, 1. Evenbake Cake Strips and Baker's Joy flour spray. I used the spray on both layers (and a parchment round on the bottom just to be safe) then the cake strip on #1 and no cake strip on #2. Take a look:

IT WORKS! So beautifully! Look how even and golden #1 - the cake stripped layer - is! And the other, same cooking time AND in the back of my oven which is traditionally cooler, is darker and has a round center. I will never EVER bake without cake strips again. Wonderful! (And the layers slipped right out of the pans with the flour spray so a win on both new experiments!)
I chose the Joy of Cooking's basic white cake because I'm always eager to try staples that have withstood the test of time. I was also very eager to try out a few new bits and bobs as recommended by the cake queen, Rose Levy Beranbaum. That lady is amazing. I'm talking so meticulous and exact, I read The Cake Bible with my jaw gaping. How to open and close the oven door?? (She says GENTLY so as not to force too much of the heated air out). In awe of her. SO. I got to try out, 1. Evenbake Cake Strips and Baker's Joy flour spray. I used the spray on both layers (and a parchment round on the bottom just to be safe) then the cake strip on #1 and no cake strip on #2. Take a look:

IT WORKS! So beautifully! Look how even and golden #1 - the cake stripped layer - is! And the other, same cooking time AND in the back of my oven which is traditionally cooler, is darker and has a round center. I will never EVER bake without cake strips again. Wonderful! (And the layers slipped right out of the pans with the flour spray so a win on both new experiments!)
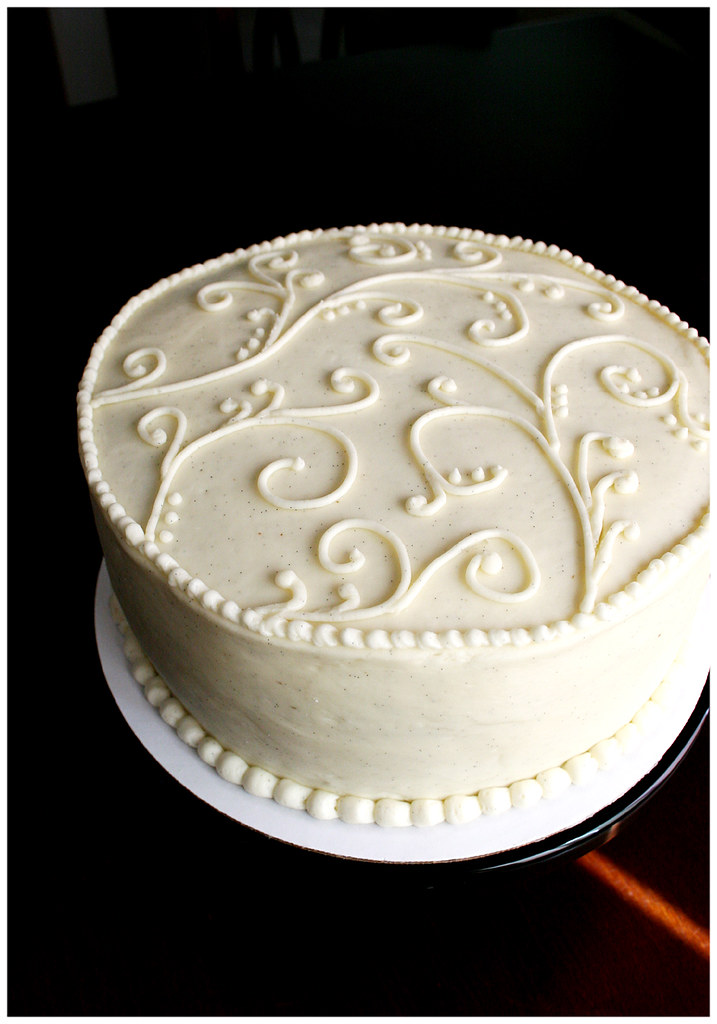
So I was basically playing around with decorating and trying to make it
fancy schmancy. I piped the border of buttercream around the inside edge of each layer
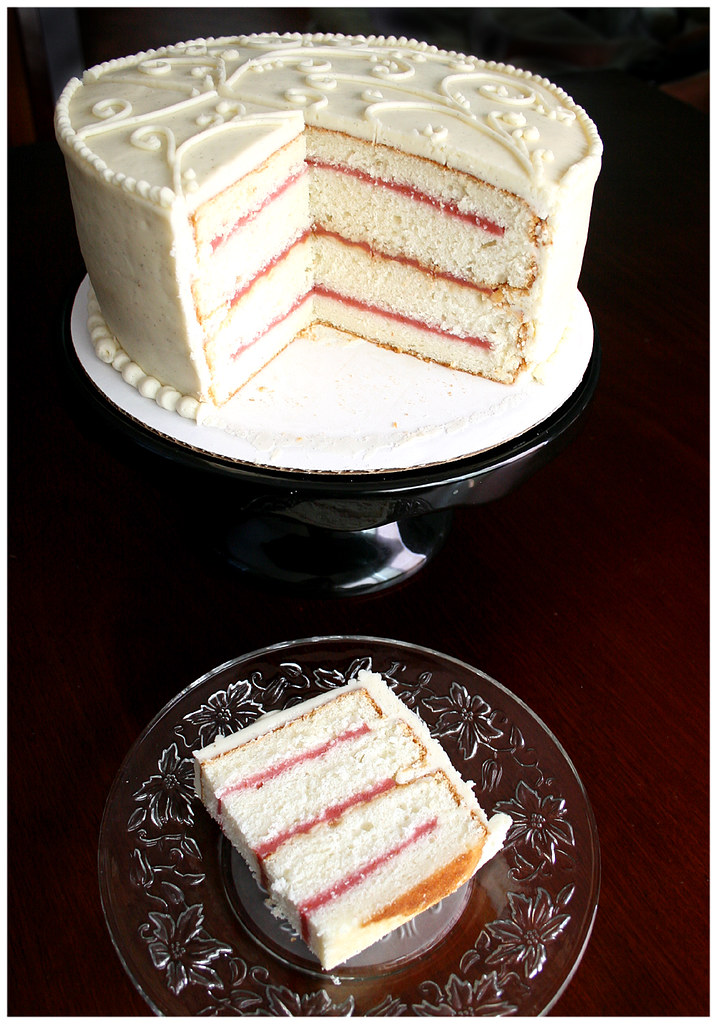
then filled with a basic strawberry filling (because I felt like it).
Did the crumb coat and smoothed all the lines, etc, etc.
When I went to pipe the decoration though? woo boy. Rough. Buttercream
is most certainly NOT as agreeable as royal icing. Sure, it tastes
better but it's just ornery! Go where I want you to, buttercream!!
And, for my own amusement, when we went to cut into it, I tried a new cut technique that I saw in a cake magazine so we got rectangle cuts from a round cake. Like wedding cake pieces! I just thought they were darling (and had a hankering for some white wedding cake). Just cut all the way across, off center (however long you want a piece) then start cutting perpendicular from that line! Kinda want to do all my round cakes this way now. No skinny triangle edge! All even square!
The recipe was pretty good but not going in my favorites box. It was dense but not heavy and was a solid, vanilla cake. The family liked it but I'll keep looking for the perfect white cake...
The recipe was pretty good but not going in my favorites box. It was dense but not heavy and was a solid, vanilla cake. The family liked it but I'll keep looking for the perfect white cake...
WHITE CAKE
The Joy of Cooking
3 1/2 cups sifted cake flour
1 Tablespoon plus 1 teaspoon baking powder
1/2 teaspoon salt
1 cup milk
1 teaspoon vanilla
1/4 teaspoon almond extract
1 cup (2 sticks) unsalted butter
1 2/3 cups sugar + 1/3 cup
8 large egg whites
1/2 teaspoon cream of tartar
Preheat oven to 375 F. Have all ingredients at room temperature. Grease and flour two 8 x 2-inch or 9 x 2-inch round cake pans and line the bottoms with parchment paper.
Whisk together first three dry ingredients thoroughly in a medium bowl. Combine milk, vanilla and almond extract in a separate bowl or liquid measuring cup.
Beat butter in a large bowl until creamy. Gradually add 1 2/3 cups sugar and beat until light and fluffy, 3 to 5 minutes. On low speed, add the flour mixture in 3 parts, alternating with the milk mixture in 2 parts, beating until smooth. Using clean beaters, beat egg whites and cream of tartar in another large bowl on medium speed until soft peaks form. Gradually add 1/3 cup sugar, beating on high speed. Beat until stiff but not dry. Use a rubber spatula to fold one-quarter of the egg whites into the batter, then fold in remaining whites. Divide the batter among the pans and spread evenly.
Bake until a toothpick inserted into the center comes out clean, about 25-35 minutes. Cool and remove from the pan. Spread the cake when cool with your choice of icing.
Vanilla Bean Buttercream Icing
1 cup (2 sticks) butter
4 cups sifted powdered sugar
1 teaspoon vanilla extract
1 - 2 Tbsp whole milk
1 vanilla bean
In a standing mixer fitted with a whisk, mix together sugar and butter. Mix on low speed until well blended and then increase speed to medium and beat for another 3 minutes.
Add vanilla, vanilla bean and cream and continue to beat on medium speed for 1 minute more, adding more cream if needed for spreading consistency.
Add vanilla, vanilla bean and cream and continue to beat on medium speed for 1 minute more, adding more cream if needed for spreading consistency.
Sunday, June 17, 2012
Spider-Man! Does whatever a spider can!
Spins a web! Any size! Catches thieves just like flies! okay enough of the theme song. I found these amazing, beautiful, adorable Spider-Man cookies at Bake Greek and wanted to make them so badly but I held off. I wanted to get a little closer to the release of The Amazing Spider-Man (July 3rd) and I knew they'd be challenging because I'd use the same technique of tracing the eyes through wax paper and applying them. So there were measurements and all that jazz but they still came out different. I won't rag on them because they're not exactly how I wanted but they're still okay. I guess that's just how stuff turns out sometimes.
That spiderweb cutter is monstrous, though. I mean it. Like 6" inches, point to point. It's like four cookies in one. Good thing I only made two.
So. I've found I have a pattern to my cookie decorating. I get through the mandatory ones and there's always stragglers that I'm never sure how to decorate. This time it was the spiders. Didn't want them all black so I did a few other colors. Then, as I'm looking at them I think, well. How about some eyes.
I swear to you, the second I put those murderous, beady eyes on, my skin started to crawl. What the hell?? It's just instinct. I didn't even want to look at it. It was looking at ME! So I tried making them bigger. GO BIG AND CUTE. But it didn't work. I actually considered for a split second making it accurate and putting a couple of those hideous eyes on it and shuddered at the thought. I hate them so much, it makes me want to cry.
Needless to say, none of the rest got eyes.
So I'm going to see the new movie because Spidey is my second favorite hero ever! (Wolverine #1 baby!) AND Andrew Garfield (the new Spidey actor) does a lot of his own stunts! I love that. He's so wiry and bendy! So I'm excited to watch him flying around! Wee!
 |
| Source: andrewgaarfields.tumblr.com |
To him, life is a great big bang up! Wherever there's a hang up, you'll find the Spider-Man!
Subscribe to:
Posts (Atom)


