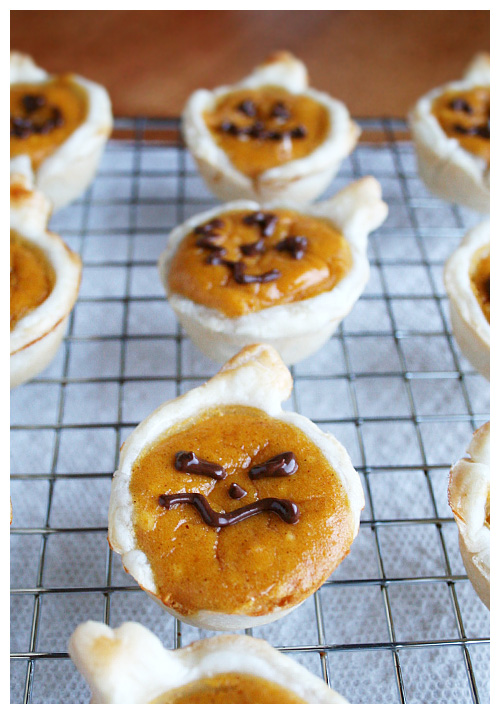
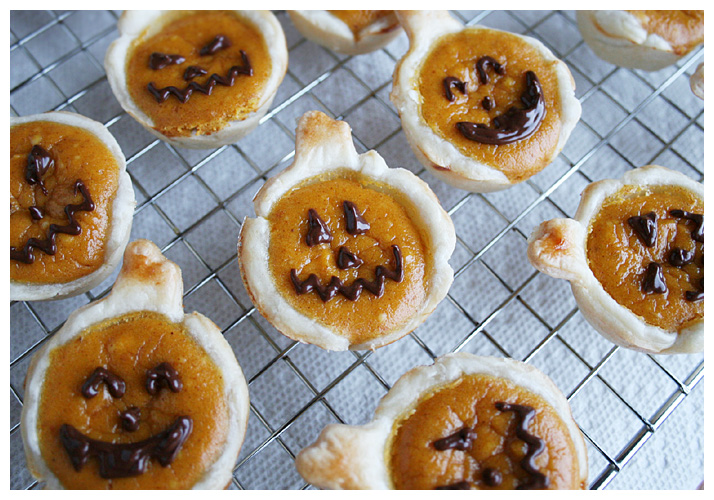
 I think these are kind of perfect in every way. Cute, Halloween-y, pumpkin, bite size; the list of their attributes goes on and on! I found them posted on Facebook by a friend and was shocked to find I'd never heard of Bakerella before. Her blog is AMAZING. It's such a treat to find a baker that is both creative and imaginative in their recipes. I want to thank Bakerella for sharing such darling ideas with the world!
I took these little cuties to work for the Halloween bake sale and they went like hot cakes! I was a little sad to see them go so fast, to be honest; I would've made more if I had known two pie crusts (a top and bottom) made only 24 little pies and that they tasted so yummy. And 24 seemed like a lot until I took them in and they disappeared! Needless to say, they were well received!
This is a definite keeper recipe!!


MINI PUMPKIN PIES
Source: Bakerella
2 refrigerated ready-to roll pie crusts
8 oz. cream cheese, room temperature
1/2 cup sugar
1 cup canned pumpkin
2 eggs + 1 egg white
1 teaspoon vanilla
1 teaspoon pumpkin pie spice
Pumpkin-shaped cookie cutter
Optional
1/2 cup chocolate morsels
vegetable oil
re-sealable plastic bags
Preheat oven to 350 degrees.
Use cookie cutter to cut 12 pumpkin shapes from each pie crust. You will need to roll the dough thinner than it comes out of the box.
Press dough shapes into a 24 cup mini muffin tray. (Make 12 at a time, alternating cups to make sure pie crusts don’t overlap each other.)
Brush egg whites from one egg to the top edges of each pie. Mix cream cheese, sugar, canned pumpkin, remaining 2 eggs, vanilla and pumpkin pie spice together until thoroughly combined. Spoon mixture into each pumpkin-shaped pie crust. Bake for 12-15 minutes.
Remove pies to cool and repeat with second pie crust. Place the muffin tray in the freezer to cool it quickly for re-use.
Makes 24 pies. Keep refrigerated.
To decorate, melt chocolate in a heat-proof bowl in the microwave on medium. Heat in 30 second intervals, stirring in between until melted. Add a little vegetable oil to make the chocolate more fluid. Transfer to a re-sealable plastic bag and cut the corner off. Drizzle or draw faces on pies.


2 comments:
these are so nice. very creative. well done
visit my new blog at http://maltesebakes.blogspot.com/
Theses are super cute! You have amazing control. I don't know if I would be able to pipe so nicely.
Post a Comment